As a homeowner, your roof venting play a crucial role in maintaining a healthy and functional roof. To ensure they stay in good shape, regular inspection is key. Roof vents are super helpful for buildings in multiple ways. They make roofs last longer, keep indoor temperatures just right, and save energy costs. A well-vented attic also stops buildings from getting damaged by rot.

Start by checking for any debris or blockages around the vents. Clear away leaves, branches, or other objects that might hinder proper airflow. Additionally, look out for signs of damage or wear, such as cracks or loose parts, and get them fixed promptly. 

Routine maintenance can help prevent issues like leaks or poor ventilation, keeping your roof in top condition. In this article, we will dive into the importance of proper ventilation, multiple types of vents, the effect of bad ventilation, and much more. Let’s get into further details!

How To Choose the Right Vents

Choosing the right type of vents is not an option, but it’s a necessity for your home. There are multiple types of vents available in the market, but the best 2 types of vents are as follows:

Geography and Climate

Your location’s geography and climate are key factors in choosing the right ventilation for your home. Different roof vents suit various climates and weather conditions, so think about how much airflow your area needs. 

For instance, in cold regions with heavy snow, ridge vents work well as they allow air along the whole roof. In hot places, solar-powered fans help keep your home cool by boosting ventilation and airflow.

Roof Pitch and Slope

Additionally, the slope of your roof matters a lot in picking the best vent style for good airflow. Steep roofs do well with ridge vents, providing airflow along the entire roof. Flatter roofs benefit from soffit vents for lower ventilation and solar-powered fans for better airflow and temperature control in hotter climates.

What are the Effects of Bad Ventilation?

Bad ventilation can lead to several adverse effects on both your health and the condition of your home. Here are some of the significant impacts of poor ventilation:

  • Health Issues

Poor ventilation leads to indoor air quality problems, causing respiratory issues like allergies, asthma, and infections due to pollutants, dust, and mould spores accumulating in stagnant air.

  • Mold and Mildew Growth

Inadequate ventilation causes excess moisture buildup, fostering the growth of mould and mildew. This can damage surfaces and pose health hazards.

  • Damage to Structures

Insufficient airflow can lead to rotting of wood, rusting of metal, and structural deterioration due to trapped moisture, impacting the integrity of building materials.

Top 4 Benefits of Proper Roof Ventilation

Well, there are multiple benefits of using proper roof ventilation which can lead to positive health impacts on our daily life routine. But the 4 main benefits are as follows:

  • Save Money on Energy Bills

Is your air conditioner working extra hard? Have you noticed a spike in your energy bill during hot summers? It might be due to your roof ventilation system. When the sun heats your home, hot air gets stuck in your attic without any air movement.

This trapped hot air can seep through your ceilings, making your air conditioner work much harder and use more energy. Keep your bills lower this summer by getting in touch with our roof ventilation experts for more information.

  • Extend Your Roof’s Lifespan

If your attic gets too hot because of poor ventilation, it can damage both the inside and outside of your roof. This can dry out the underlayment of your roof’s shingles, making them crack sooner than they should. Normally, shingled roofs can last 15-25 years with proper care. But if your shingles dry out too quickly, they won’t last as long, leading to expensive repairs.

  • Prevent Moisture Damage

Nobody wants mould or moisture problems in their home. Incorrectly ventilated attics can cause condensation, leading to moisture buildup. This can result in mould, stains on ceilings, and even structural damage. If not fixed on time, these issues could lead to costly repairs or needing a whole new roof.

  • Stop Ice Dams

While icicles might look pretty, they’re not good for your home. They’re a sign of ice dams, often caused by a poorly ventilated attic. When the roof gets warm, snow melts and turns into water that freezes along the roof’s edge. This can damage your roof and gutters, leading to more expenses.

3 Best Tips to Protect Your Roof From Vent

If you want to protect your roof from vents, then the following 3 tips can not only save you lots of bucks but also save you time.

  • Ventilation protects the roof from weather

Your roof needs air to stay strong against nature’s harshness. Breathing helps it handle temperature changes without getting damaged. When the roof expands and contracts because of weather shifts, it can harm the shingles and structure. Ventilating the attic lets out water vapour and keeps the air moving, which helps control temperatures.

  • Preventing Structural Damage

This ventilation doesn’t just protect the roof; it safeguards your whole house. Fluctuating temperatures can damage your home’s structure and gather moisture inside. Moisture leads to rot, mould, and pests. Proper ventilation stops this from happening.

  • Prevents Costly Repairs

And here’s the money-saving part: hiring roofing contractors to install vents will save you bucks in the long haul. Good ventilation makes it easier for your heating and cooling system to keep your home comfy, slashing your energy bills. Plus, it prevents costly repairs caused by moisture damage to your home’s structure.

Hire Our Professional to Inspect and Repair Your Roof Vents

Are you suffering Roof vent problem and want to hire professionals? When you hire a roofer, look for someone known for their good work and success in installations and fixes. Ask around and check online reviews to see how well they do their job.

Ensuring your roof ventilation system gets set up and maintained right means hiring a skilled roofer. These experts have the smarts, know-how, and tools to do the job safely and correctly.

At Active Exteriors, our professional roofer can figure out what kind of ventilation suits your home best and suggest the right solutions. They will follow all the rules and best methods to set up or fix your ventilation system safely and properly. Get in touch for roof ventilation installation with our professionals.

Conclusion

In this blog, we have shared helpful tips to ventilate your roof and maintain a healthy home. Good roof ventilation keeps your attic temperature steady, stops mould and moisture buildup, and makes your roof last longer. Following these tips means enjoying a cosier, healthier home and safeguarding your property investment. Remember, taking care of your roof’s ventilation is super important for a comfy, durable home.

In our lives, we face many important decisions choosing the right shingle for your home is a decision that should not be taken lightly. The type and quality of shingle you choose can have a significant impact on the longevity, appearance, and value of your home. Your roof is one of the most important components of your house, providing protection and shelter for you and your loved ones. In this article, we will discuss how to give an appealing look to your roof by using shingles, what is their importance, and much more. Let’s get into further details!

Use Shingles to Get More Appealing Appearance 

They shield homes from weather like rain and snow, last a long time, and come in various styles to match a home’s look. Shingles are also cost-effective and easy to install, making them a popular choice for many homeowners seeking reliable and affordable roofing solutions. Shingles offer many advantages as a roofing material:

  • Weather Protection: Shingles shield homes from rain, wind, and snow, keeping interiors dry and safe.
  • Durability: They are sturdy and long-lasting, offering protection for years against harsh weather conditions.
  • Variety of Styles: Shingles come in various designs and colors, allowing homeowners to choose based on their preferences and home aesthetics.
  • Affordability: They are cost-effective compared to other roofing materials, making them a popular choice for many homeowners.
  • Easy Installation: Shingles are relatively easy to install, reducing installation time and labor costs.

Protect Your Home From Weatherproof with the Right Shingles

Choosing the perfect shingle for your home is similar to picking the ideal armor for protection. It shields your abode from harsh weather, giving it a striking appearance while saving energy. The right shingle provides not just shelter but also adds value and resilience to your home. Here are some factors to protect your home from being weatherproof.

Enhanced Protection

Investing in quality shingles significantly reinforces your home’s defense against harsh weather conditions, ensuring enduring protection for your cherished home, rain or shine.

Energy Efficiency

Certain types of shingles act as outstanding insulators, effectively regulating indoor temperatures year-round, which not only enhances comfort but also substantially reduces energy consumption, resulting in cost savings over time.

Aesthetic Appeal

With an array of styles and a vivid palette of colors, shingles go beyond just safeguarding; they also uplift the visual allure of your home’s exterior, adding a touch of charm that enhances its curb value and overall attractiveness.

Climate Adaptability

The careful selection of shingle materials tailored to suit specific climates ensures your roof’s resilience against the varied and sometimes extreme weather conditions prevalent in your area, offering lasting protection and peace of mind.

Quality Vs Cost

Striking the right balance between quality and cost is pivotal. Opting for higher-quality shingles might involve a slightly larger initial investment but often translates to superior durability, thereby reducing long-term maintenance expenses.

Expert Guidance

Relying on the expertise of roofing professionals proves valuable. Their advice helps navigate through the myriad shingle options, taking into account your preferences, financial plan, and climate demands to ensure the best fit for your home.

How to Choose the Best Shingles for Your Home?

When it comes to protecting your home and everything inside it, having high-quality shingles is crucial. Quality shingles provide better insulation, durability, and resistance to harsh weather conditions. They can help prevent leaks, reduce energy costs, and enhance the overall structural integrity of your home. 

Aesthetics Matter

In addition to functionality, the appearance of your roof plays a significant role in enhancing the curb appeal and value of your property. The right choice of shingle can complement the architectural style of your home and create a visually appealing look that stands out in your neighborhood.

Consider Your Climate

The climate in which you live should also be taken into consideration when selecting shingles. Certain types of shingles are better suited for hot climates with intense sun exposure, while others perform well in colder regions with heavy snowfall. Understanding how different shingle materials react to various weather conditions will help ensure that you choose one that can withstand the elements in your area.

Budget-Friendly Options

While quality is essential when choosing shingles, it’s also important to consider your budget. Fortunately, there are various options available at different price points to suit every homeowner’s financial capabilities. It’s crucial to find a balance between quality and affordability to make the most cost-effective decision for your home.

Consulting with Professionals

Given the importance of this decision, it is recommended to consult with roofing professionals who can provide expert advice tailored to your specific needs. They can assess your roof’s condition, discuss your preferences, and recommend the most suitable shingle options that align with both your style and budget.

The Long-Term Impact

Remember, the decision you make regarding your shingles will have a long-term impact on your home. Investing in high-quality shingles now can potentially save you from costly repairs and replacements in the future. It’s an investment that not only protects your home but also adds value and peace of mind.

Conclusion

The choice of shingle for your home is indeed one of the most important decisions you will make. By considering factors such as quality, aesthetics, climate suitability, and budget, and seeking professional guidance, you can ensure that you make an informed choice that will benefit you for years to come. Take this decision seriously and give your home the protection and beauty it deserves by choosing the right shingle!

When it comes to purchasing a home, there are many factors and Risks Homebuyers Need to Know. One important aspect that should not be overlooked is the condition of the roof. While a re-roofed home may seem like an attractive option, buyers should proceed with caution.

A re-roofed home refers to a property that has had its roof replaced or repaired. On the surface, this may appear to be a positive feature, as it suggests that the roof is in good condition and will not require immediate attention. However, it is essential to delve deeper into the history and quality of the re-roofing work.

Buyers should be aware that not all re-roofing projects are created equal. Some homeowners or contractors may opt for quick fixes or cut corners to save time and money. This can result in subpar workmanship and potential issues down the line.

Top 3 Benefits of Re-Roofing for Improvement

Getting a new roof brings several benefits. It enhances the safety of your home by providing better protection against weather elements. Replacing your roof can also lead to increased energy efficiency, which means lower heating and cooling costs. 

  • Making Your Home Safer: Getting a new roof to protect your home better, using robust and reliable materials for your roof
  • Using Less Energy: Options for roofs that save energy, spending less money on heating and cooling your home
  • Making it Look Better: Roof designs that look good, using modern materials for your roof

Moreover, changing your roof can significantly improve the appearance of your home, boosting its curb appeal and overall value. These advantages highlight the importance of considering a roof replacement for both practical and aesthetic reasons.

How to Re-Roof Replacement for Your Home?

Prepare your home for roofers, even though they won’t be inside. When installing a new roof, vibrations occur throughout the building due to extensive nailing into the structure while replacing shingles. Although there’s no lasting harm, short-term messiness is expected. We are here to guide how to replace and protect the roof in simple 7 steps.

  • Clear the Attic 

During a roof replacement, the attic becomes vulnerable due to vibrations. To safeguard sentimental items, relocate them from the attic to the ground floor temporarily.

  • Protect the Attic

Since the attic gathers the most dust during a roofing job, using tarps or drop sheets on the floor helps simplify cleanup post-replacement.

  • Garage Protection

If the garage is part of the house and the roofers will replace its roof, cover everything inside with a tarp. Garages often lack insulation, allowing debris to fall through and potentially cause damage to items like car parts, tools, or collectibles.

  • Secure Windows

Prevent scratches on windows from falling roof materials by placing wooden boards over them until the old roof is completely removed.

  • Remove Wall Decor

Vibrations from hammering during the replacement can dislodge wall decorations. It’s prudent to take down items like mirrors, pictures, or shelves to prevent them from falling.

  • Protect Fragile Items

To shield delicate items from potential damage due to vibrations, ensure breakables like glassware or china plates aren’t in contact with each other or the walls. Consider securing fragile items in cabinets during the roof replacement.

  • Roof Accessory Removal

Roofers will uninstall and reinstall roof accessories such as satellite dishes, skylights, or solar panels during the replacement process. Expect temporary television interruptions due to this procedure.

Step-by-Step Buyer’s Guide to Avoid Common Mistakes

Investing in a home is a significant decision, often requiring meticulous attention to detail. Among the crucial aspects to consider is the condition of the roof. While a re-roofed home may seem appealing at first glance, it’s essential to delve deeper and be aware of potential risks associated with this renovation tactic.

Re-roofing involves installing a new layer of roofing material over the existing one, ostensibly to improve the roof’s appearance or functionality. However, there are inherent dangers in this practice that homeowners should be wary of before making such a decision. Here, we define the following terms in detail and avoid common mistakes.

1. Concealed Issues

One of the primary concerns with re-roofing lies in concealing underlying problems. The existing roof structure may harbour issues such as water damage, rot, or structural weaknesses that are unseen but significantly impact the new installation. 

By merely adding a layer over the existing roof, these underlying issues remain unresolved and could exacerbate over time, leading to more extensive and costly repairs down the line.

2. Weight and Structural Integrity

Another critical aspect to consider is the added weight from an extra layer of roofing material. While it might seem harmless, the additional load can strain the structural integrity of the house. 

The building may not have been designed to support the weight of multiple layers of roofing, potentially leading to sagging, structural damage, or even collapse in extreme cases.

3. Voided Warranties and Decreased Lifespan

Re-roofing can void warranties on both the existing and new roofing materials. Manufacturers typically design their products to work optimally under specific conditions, and installing new layers could nullify the warranty. 

Moreover, by not addressing underlying issues or opting for a complete replacement, the lifespan of the roof may be significantly reduced, necessitating another replacement sooner than expected.

4. Compromised Aesthetics and Functionality

While re-roofing might seem like a cost-effective solution, it could compromise the appearance and functionality of the roof. Uneven surfaces, improper installation, or incompatible materials used in layering can result in a roof that doesn’t perform as expected, both in terms of aesthetics and functionality.

Conclusion

While re-roofing might appear as a quick fix or a budget-friendly option, it’s essential to weigh the risks against the benefits. In many cases, opting for a complete roof replacement, albeit more expensive initially, can ensure a safer, longer-lasting, and more reliable roofing solution. 

Prioritizing a thorough inspection by qualified professionals and considering the long-term implications are crucial steps toward making an informed decision for your home’s roofing needs. Remember, the allure of a re-roofed home may hide potential risks that could lead to significant headaches in the future.

Roofers in Calgary and other cities follow building fire codes to keep homeowners safe. Yet, these codes sometimes unintentionally affect homes. For example, fire codes now impact how ventilation systems work in houses. Due to high land prices, houses are built closer together, reducing open spaces. 

This means if one house catches fire, the flames might spread to nearby homes through the soffit air intake. To prevent this, fire codes demand sealing off soffits, vital for attic ventilation. But this creates a new problem: poor attic ventilation, leading to potential mold and moisture problems.

The Rising Dangers and Challenges

Roofers in Calgary are facing increased challenges due to the stringent building fire codes. These codes are continually evolving, presenting compliance issues and safety hazards for roofers. The complexities of meeting these regulations have posed significant challenges in executing roofing projects effectively and efficiently.

  • Evolving Stringency: Roofers in Calgary grapple with the amplified challenges brought on by the ever-evolving building fire codes.
  • Compliance Complexities: The continual evolution of these codes presents intricate compliance issues, demanding meticulous adherence from roofers.
  • Safety Hazards: Stringent fire codes pose safety hazards, creating a need for enhanced safety protocols during roofing projects
  • Execution Challenges: Meeting these regulations has become increasingly complex, hindering the effective and efficient execution of roofing projects in Calgary.
  • Navigating Complexity: Roofers encounter multifaceted challenges in understanding, interpreting, and meeting the dynamic requirements set forth by evolving fire codes.

How to Deal With Building Fire Code Danger? 5 Helpful Tips

When facing building fire code dangers, it’s essential to take certain steps for safety. First, stay updated on fire codes and understand what they mean for your home or workplace. Ensure smoke detectors are working correctly and have fire extinguishers readily available. Keep pathways clear for easy escape in case of a fire and have a plan in place for emergencies. Regularly check electrical wiring and appliances to prevent potential fire hazards. Finally, seek professional advice if you’re unsure about fire safety measures.

  • Stay Informed

Keep yourself informed and regularly updated regarding fire codes and associated regulations that hold significance for your home or workplace. Staying well-informed about these standards is crucial to ensure a comprehensive understanding of fire safety measures and compliance requirements necessary to maintain a safe environment.

  • Install Safety Equipment

Prioritize the maintenance and functionality of smoke detectors, ensuring they are in operational condition. Additionally, have fire extinguishers readily accessible and strategically placed within your home or workplace for immediate use during emergencies.

  • Create Escape Routes

Maintain unobstructed pathways and create a well-thought-out evacuation plan to facilitate easy and safe escape in case of a fire emergency. Designate clear routes that lead to safe areas outside the building to ensure everyone’s safety.

  • Regular Maintenance

Conduct routine and thorough inspections of electrical wiring systems and various appliances within your premises to detect and rectify any potential fire hazards. Timely maintenance and repairs can significantly reduce the risk of fire incidents.

  • Seek Professional Advice

If needed, seek expert advice and guidance from fire safety professionals to acquire comprehensive information and clarification on fire safety measures. Consulting with professionals like Active Exteriors can offer valuable insights and ensure the implementation of effective safety protocols.

Leverage Tech Solutions to Upgrade Fire Code Measures

Using technology to follow fire codes helps make things safer. It helps keep an eye on fire risks, catches problems early, and allows for quick action, making sure buildings are following the fire codes properly and staying safe.

Monitoring

Employing cutting-edge technological solutions that offer round-the-clock surveillance and consistent oversight of buildings, enabling the prompt detection and monitoring of potential fire risks. These advanced systems ensure a continuous watch, allowing for immediate action upon identifying any signs of fire hazards.

Early Detection

Installing and utilizing highly sophisticated systems that specialize in the early detection of potential fire hazards. These systems are designed to swiftly recognize and highlight any signs or conditions that could lead to a fire outbreak. Their primary goal is to enable a rapid response to prevent fires or mitigate their impact.

Alert Systems

Creating and activating alert mechanisms that instantly notify relevant personnel or occupants about any identified fire dangers. These alert systems are designed to swiftly disseminate warnings, ensuring that individuals are promptly made aware of potential fire risks, enabling them to take immediate action to ensure their safety.

Compliance Tracking

Utilizing sophisticated technological tools and platforms designed for comprehensive tracking and monitoring, ensuring that buildings strictly adhere to established fire safety codes and regulations. These tools provide meticulous oversight, guaranteeing compliance with all required safety standards.

Response Enhancement

Employing advanced technological solutions to enhance and refine response strategies and actions during fire emergencies. These strategies aim to optimize the effectiveness and efficiency of emergency responses, ensuring swift and well-coordinated actions in the event of a fire outbreak, ultimately minimizing potential damages and ensuring the safety of occupants.

Conclusion

Using fire safety regulations is an opportunity for growth and improvement within the roofing industry. Roofers in Calgary can leverage these regulations to elevate safety standards, enhance project quality, and build a reputation for excellence. Adapting, collaborating, and integrating technology will not only ensure compliance but also drive innovation and progress in the roofing sector.

Roof repair scams are on the rise in Calgary due to harsh weather and a growing population. Roofing scams increase with many subpar roofing service providers nowadays looking to make a quick buck. Scammers target both homeowners and insurance companies and take advantage of them.

At Active Exterior, the company guides you spot and Avoid Roofing Scams to save both your time and money. In this honest guide, you will know how to avoid scammers in Calgary and what steps you need to take to save your money.

4 Ways Roofing Scammers Scam in Calgary 

Learn about how a usual roofing scam works: After a storm, someone claiming to be a contractor contacts you, maybe knocking on your door. They force you to sign a contract or pay in advance. They might offer a roof inspection but secretly aim to cause more damage to inflate their charges for services.

Here are some techniques that scammers might use to cheat you when it comes to fixing your roof:

  • Demanding payment in advance: A dishonest contractor demands payment before starting the job. 
  • Excessive damage: The contractor lies about the damages to charge more.
  • Lowball bids: Scammers use tempting offers with lower prices or special deals that deceive.
  • Poor quality work: The contractor rushes the job and uses low-quality materials, leading to poor-quality repairs.

How to Identify a Roofing Scammer in Calgary? 5 Helpful Tips

If you are facing a roofing scam, watch for sudden cost increases after a low estimate, feel pressured to sign quickly, make big upfront payment requests, and promise to cover insurance fees in tricky ways. Also, watch for unnecessary fixes, unclear damage claims, or harmful materials sold at high prices. Staying aware of these signs helps steer clear of roofing scams.

  • Low Initial Bid Scam

Some contractors might initially offer an incredibly low estimate, but as the job progresses, they increase cost citing unforeseen issues or inflated material prices. A contractor shouldn’t hike up material prices midway through your project.

  • Insurance Fraud Tactics 

Contractors might try submitting two invoices – a low one to you and a higher one to your insurance. This fraud could land you in trouble legally. Some may promise to cover your deductible using over-billing to your insurance.

  • High-Pressure Sales

Be cautious, if a contractor pressures you to sign a contract on the spot with a “today only” deal, preventing you from researching other options.

  • Use of Poor Quality Materials

Some contractors charge high prices for repairs using cheap materials, temporarily hiding problems that could lead to costly fixes later on.

  • Demanding a Large Down Payment

Scammers often ask for a hefty down payment before starting work and then vanish. A reasonable down payment should cover only a small portion of the total bill, not exceeding 20%. Avoid companies asking for 50% or more upfront.

How to Avoid Storm-Chasing Scammers?

After a storm, be cautious about signing contracts or paying for roof repairs. First, contact your insurance agent to file a claim for any potential damage. Your insurer will send an adjuster to assess the damage. It’s smart to get estimates from different local and reliable companies to compare. Protect yourself from storm chaser scams with these five simple tips:

  • Get multiple estimates and don’t feel pressured to pick the first contractor.
  • Choose licensed and insured contractors; check if they’re part of a reputable roofing association and have a clean record with the Better Business Bureau.
  • Always get a written contract detailing costs, schedules, guarantees, and expectations before any work starts.
  • Ensure your insurance adjuster inspects the damage before repairs to avoid claim denials.
  • Pay with a check or credit card, not cash. Hold off on full payment until the job’s done to your satisfaction and meets local building codes.

Choose Active Exteriors to Steer Clear from Roofing Scams

At Active Exterior, we always protect our customers from roofing scams. We focus on providing extensive guidance to help you recognize and avoid potential scammers. Our commitment to fairness and clearness shields you from deceitful individuals. 

Choosing our services ensures; that you benefit from multiple estimates, verified credentials, and clear contracts before any work starts. We authorize our clients with the knowledge to steer clear of dishonest contractors. With Active Exterior, you partner with a company dedicated to client satisfaction and protecting you from roofing scams.

FAQs

  • How do I deal with roofing scams?

If you have experienced financial losses, lost possessions, or divulged personal information due to a scam, contact your local police department. The FTC is dedicated to consumer protection and guides to safeguard personal information.

  • What are the common types of roofing scams?

Common scams include demanding upfront payments without doing any work, inflating damage costs, using low-quality materials, and sudden price increases after offering low estimates.

  • How can I recognize trustworthy roofing contractors?

Trustworthy contractors are licensed, insured, and associated with reputable roofing organizations. They provide clear contracts, references, and multiple estimates without pressuring you to decide hastily.

  • What precautions can I take to avoid roofing scams?

Always obtain written contracts specifying costs, schedules, and guarantees. Avoid cash payments and verify contractors’ credentials, affiliations, and customer reviews before hiring them.

  • What signs indicate I might be facing a roofing scam?

Watch out for sudden cost increases after a low estimate, high-pressure sales tactics, requests for large upfront payments, unclear damage reports, or promises to cover insurance fees in tricky ways.

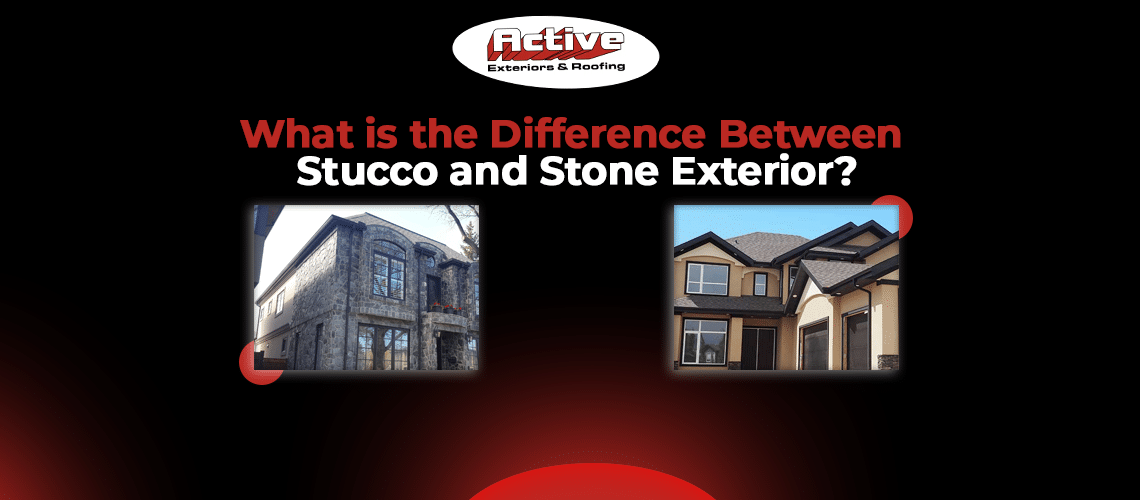
Stucco and stone are two popular exterior materials that can make your house look amazing, but they are pretty different. However, there are some key differences between the two materials that you should be aware of before making a decision about which one is right for your home. 

In this article, we will break down the main differences between stucco and stone exteriors. Whether you want something that lasts, is budget-friendly, or just looks a certain way, knowing these differences will help you pick the right one for your home. So, let’s get into further details!

Stucco vs. Stone Exterior: Which is Right For You?

If you have any confusion about whether Stucco is the best or Stone exterior,it is best to consult with a professional contractor like Active Exterior. We can help you assess your needs and make a recommendation based on your budget and preferences.

  • Stucco Exterior

Stucco is like a fancy exterior makeover for buildings. It’s a mix of cement, sand, lime, and water, and people slap it onto the outside walls. Stucco can dress up all kinds of surfaces, from bricks to wood.

How Does it Look? 

Stucco comes in different colors and textures. It can be super smooth, a bit rough, or have all sorts of patterns. You can even shape it into cool things like columns and arches.

Benefits

  • Tough as nails
  • Doesn’t need much looking after
  • You can pick from a bunch of colors and finishes
  • Makes your place look fancy with architectural tricks

Additional Benefits of Stucco Exterior:

  • Stucco is strong and needs little maintenance.
  • It’s good at handling different weather conditions.
  • You can pick from many colors and textures.
  • It’s usually less expensive.
  • Stone Exterior

Stone is a natural material that is quarried from the earth. It is available in a variety of colors and textures. Some common types of stone used for exterior cladding include granite, limestone, and sandstone.

How Does it Look? 

Stone is available in a variety of colors and textures. It can be smooth, rough, or textured. Stone can also be used to create a variety of architectural features, such as pillars, arches, and quoins.

Benefits

  • Durable
  • Low maintenance
  • Adds value to a home
  • Gives a home a unique and stylish look

Additional Benefits of Stucco Exterior:

  • Stone is also very durable and low maintenance.
  • It can last for centuries and gives your home a unique look.
  • You have various color and texture options.
  • It’s often more expensive than stucco.

Stucco and Stone Exterior Maintenance and Common Repairs

If you have any concerns about the maintenance or repair of your stucco or stone exterior, be sure to consult with Active Exterior.

Maintenance Tips for Stucco:

  • Keeping your stucco in good shape is quite simple:
  • Clean it regularly with a soft brush and mild soap to get rid of dirt and debris.
  • Keep an eye out for cracks or damage. If you spot any, fix them ASAP to prevent more problems.
  • Give it a protective coat by resealing it every few years. This shields it from the weather and keeps it looking fresh.

Maintenance Tips for Stone:

  • Taking care of stone is also straightforward:
  • Regularly clean it using a soft brush and mild soap.
  • Watch out for cracks or damage, and if you see any, repair them right away to avoid further issues.
  • Like stucco, it benefits from a protective seal every few years to stay strong and look great.

Common Repair Tips for Stucco & Stone

For Stucco:

  • Cracks: Fix them quickly to stop water from causing trouble underneath.
  • Stains: If it gets stained, try a mild soap solution and a gentle brush. For tough stains, consider a professional cleaning solution.

For Stone:

  • Cracks: Repair these promptly to keep water out.
  • Chips and spalls: Fix them fast to prevent more damage.
  • Stains: Use a mild soap solution and a soft brush to remove stains. For stubborn stains, consider professional cleaning help.

Frequently Asked Questions (FAQs)

  1. Which one is quicker to install, stucco or stone exterior?
    Stucco is generally easy to install and takes less time for installation, while stone exteriors can be labor-intensive and take more time to set up.
    2. Which one is more affordable, stucco or stone exterior?
    Stucco is usually cheaper than stone exteriors, making it a budget-friendly choice for exterior finishes.
    3. How do stucco and stone exteriors differ in maintenance needs?
    Stone exteriors are durable and need less maintenance, while stucco might require more maintenance over time.

Conclusion

By Understanding the major difference between stucco and stone exteriors you will become able to make the right decision when it comes to finishing the exterior of your home or building. Stucco offers a smoother, cost-effective option, while stone exteriors provide a rugged, low-maintenance choice with a unique aesthetic. 

If you are still not sure about which option is best for your project, consult with Active Exterior. At Active Exterior, our experts can help you choose between stucco and stone exterior finishes that will look good and last for years to come. We will take into account your specific needs, budget, and design preferences to help you make the best decision for your property.

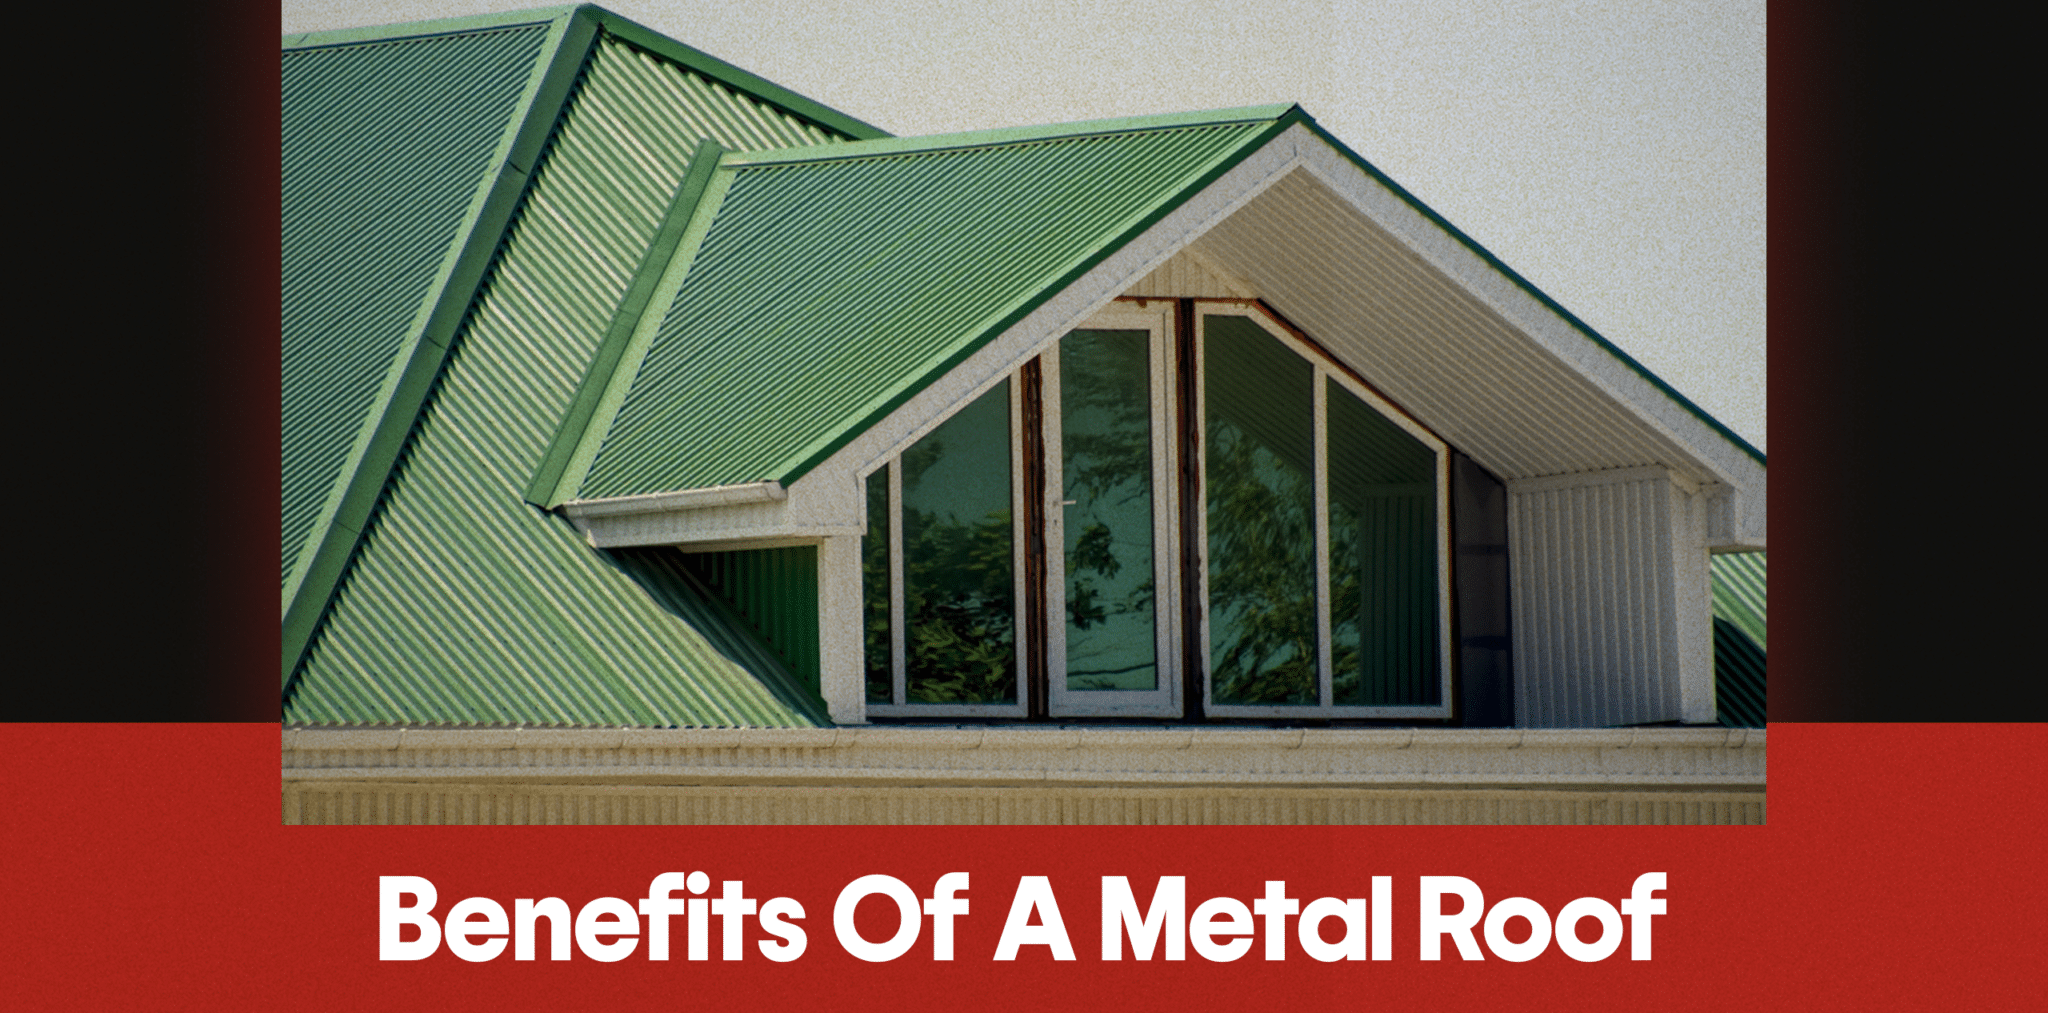
Metal roofs are built to last, with a lifespan spanning decades, making them an investment in your home’s future. They also excel in energy efficiency, reducing your bills and carbon footprint.  The benefits of a metal roof are clear: durability, energy efficiency, and design options.

It’s time to explore the 17 best benefits of metal roofs, and after that, you can easily renovate your home’s excellence. 

1. Greater Durability

Metal roofs are incredibly tough and can last for more than 50 years. They can handle high winds, hail, fire, and heavy snow and even keep pesky pests at bay. 

2. Maintenance

Owning a metal roof is a low-maintenance dream. There is no need for regular resealing or painting, and cleaning is a breeze. It’s a stress-free way to keep your roof looking good as new.

3. Lightweight Material

Compared to heavy materials like concrete tiles, metal roofing is incredibly lightweight. This puts less strain on your home’s roof structure and foundation, making installation easier and ensuring your home stays strong.

4. Easy Recyclable

For those who care about the environment, metal roofing is a great choice. It’s 100% recyclable, so when it’s time to say goodbye, it can be transformed into something new rather than becoming waste.

5. Impact Resistant

Hailstorms and falling debris won’t cause damage to metal roofs, thanks to their impressive impact resistance.

6. Choice of Finishes

Show your unique style with a wide variety of finishes, including colors, patterns, and textures. Metal roofs let you personalize your home’s look.

7. Tax Breaks

In some areas of Calgary, installing a metal roof can even qualify you for tax incentives due to their energy-efficient qualities. So, not only are you saving on energy bills, but you might also get a nice tax break in return.

8. Corrosion Resistant

Coastal and humid areas can be harsh on roofs, but metal roofs are prepared. They’re coated to shield against corrosion, maintaining their beauty and strength.

9. Snow Resistant

Metal roofs are excellent at shedding snow and ice, helping prevent roof damage and those pesky ice dams.

10. Better Longevity

Unlike other roofing materials like asphalt shingles that wear out relatively quickly, metal roofs stand the test of time. This means you won’t need to worry about frequent and costly replacements down the road, saving you a bundle.

11. Energy Efficiency

Metal roofs are like natural temperature regulators for your home. They reflect the sun’s heat, keeping your house cool in the summer, and act as a cozy insulator in the winter. This leads to noticeable savings on your energy bills, which is always a plus.

12. Fire or Heat Resistant

In areas prone to wildfires, metal roofs are an essential safety feature. They don’t catch fire, offering valuable peace of mind to homeowners.

13. Wind Resistant

Metal roofs stand strong in the face of strong winds, capable of enduring speeds of up to a remarkable 140 miles per hour. This makes them a top choice in hurricane and tornado-prone regions.

14. Noise Reduction

Rain, hail, and wind become hushed whispers with metal roofs, making your home quieter and more comfortable.

15. Solar Panel Compatibility

If you are considering solar panels, metal roofs provide a stable and secure foundation for harnessing solar energy.

16. Improved Insulation

With insulated metal roofs, your home stays cooler in the summer and warmer in the winter, ensuring year-round comfort.

17. Increased Home Value

Metal roofs are an investment that pays off. They add value to your home, making it more appealing to potential buyers.

Frequently Asked Questions (FAQs)

1. Are there limitations to the design options for metal roofs?

Metal roofs offer a wide range of design choices, but it’s essential to check with manufacturers for specific options available in your area. Customization may vary.

2. Do metal roofs make a lot of noise during heavy rain or hailstorms?

No, metal roofs are designed with noise-reducing features to minimize sound during rain and hail, ensuring a peaceful interior environment.

3. Can I walk on a metal roof, or is it too fragile?

Metal roofs can support light foot traffic for maintenance purposes. However, it’s advisable to consult with a professional roofer for safety guidelines and precautions.

4. Are metal roofs more expensive than traditional roofing materials like asphalt shingles?

While the initial cost of metal roofing may be higher, its longevity and energy efficiency can lead to cost savings over time.

5. Can I install a metal roof over my existing roofing material, or does it require a complete replacement?

It’s often possible to install a metal roof over an existing one, depending on local building codes and the condition of the current roof. However, a full replacement is recommended for optimal performance.

Conclusion

The benefits of a metal roof are undeniable: durability, energy efficiency, and a wide range of design options. Investing in a metal roof not only enhances the longevity and functionality of your home but also adds to its aesthetic appeal and value.

If you are considering a metal roof for your home in Calgary and need guidance, assistance, or professional insights, don’t hesitate to reach out to Active Exterior. Our experts are here to help you make a better decision and ensure a smooth roofing experience. Contact us today for all your roofing needs in Calgary.

The cost of replacing eavestroughs can be anywhere from $500 to $2,000 for a professional eavestrough replacement contractor. But the final cost will depend on the size of your home, the materials you choose, and whether you hire a contractor or do the work yourself. 

If you are confused about what Eavestroughs is and how much Eavestroughs costs in Calgary, don’t worry. In this article, we will break down the details about its costs, its factors, and why eavestroughs are important. So, let’s get into further details!

Why Eavestroughs Replacement Are Important?

Eavestroughs are a core part of your home’s exterior drainage system, and they play a key role in protecting your home from costly water damage.

  1. Protecting Your Roof:

    Eavestroughs also protect your roof by stopping water from pooling on the edges. This simple step helps prevent leaks and extends the life of your roof.

  2. Preventing Foundation Issues:

    Eavestroughs direct rainwater away from your home’s foundation, preventing erosion and flooding. This can save you a lot of money in future foundation repairs.

  3. Curb Appeal:

    Eavestroughs can even improve the overall look of your home. A well-maintained eavestrough system gives your home a clean and polished appearance, enhancing its curb appeal.

Eavestrough Replacement Cost in Calgary

In Calgary, the average eavestrough replacement cost falls between $950 and $1,900, with a national average of $1,200. This total covers both materials and labor. 

Moreover, the final expense is influenced by factors such as your home’s size, the gutter material you opt for, and the intricacy of the project. A breakdown of the average eavestrough replacement cost in Calgary based on materials are:

  • Vinyl: $4 to $8 per linear foot
  • Aluminum: $6 to $12 per linear foot
  • Stainless Steel: $11 to $30 per linear foot
  • Copper: $40 to $100 per linear foot

Regarding labor, it generally falls in the range of $1 to $12 per linear foot. If your project involves extra complexities, like multiple downspouts or tricky-to-reach gutters, labor costs could be on the higher side.

Top 3 Cost Factors For Eavestroughs Replacement

When it comes to eavestrough replacement, the total cost of replacement typically breaks down into three parts and these are:

  1. Labor:

    Labor costs cover installation, necessary repairs, and adjustments. The final labor bill varies depending on the project’s complexity, and local labor rates. Generally, you can expect labor to be a substantial part of the total, ranging from $200 to $600 or more.

  2. Materials:

    These make up a significant chunk of the expense. Your choice of eavestrough material, whether it’s aluminum, vinyl, or copper, directly affects the cost. On average, materials can range from $3 to $8 per linear foot.

  3. Additional Costs:

    There may be extra expenses involved, such as removing old eavestroughs, installing downspouts, or adding gutter guards for extra protection. These extra costs can vary widely, so it’s essential to discuss them with your contractor to get a clear picture.

7 Best Tips to Save on Eavestrough Replacement Costs

Everyone wants to save costs, especially when it comes to eavestroughs costs. The good news is that, by following these tips, you can minimize eavestrough replacement costs and ensure that your home remains protected from water damage.

  1. Regular Maintenance:

    Keep your eavestroughs clean and well-maintained to improve their lifespan. Regularly remove debris and leaves to prevent clogs and avoid costly repairs.

  2. Timely Repairs:

    Address minor issues promptly. Fixing small problems, such as leaks or loose connections, can prevent more significant damage and expenses later.

  3. Choose Cost-Effective Materials:

    When replacing eavestroughs, opt for materials that balance durability with affordability. Materials like aluminum and vinyl are cost-effective options.

  4. DIY if Possible:

    If you’re skilled and confident, consider doing some of the work yourself, like cleaning or minor repairs. However, leave complex installations to professionals.

  5. Seasonal Timing:

    Plan your eavestrough replacement during the off-season or when contractors may have lower rates. 

  6. Proactive Gutter Guards:

    Install gutter guards to reduce the frequency of cleaning and prevent clogs. This can save you money on maintenance in the long run.

  7. Energy-Efficient Downspouts:

    Consider redirecting rainwater from downspouts into rain barrels or a garden to reduce water usage and lower utility bills.

Frequently Asked Questions (FAQs)

  • What are the challenges associated with eavestrough maintenance and repair? 

Technical challenges in maintenance and repair include diagnosing leaks or clogs, safely accessing gutters, and using specialized tools for sealing or replacing sections. Proper technical knowledge is essential for effective troubleshooting and maintenance.

  • How can I calculate the capacity of eavestroughs to handle rainwater flow? 

The technical capacity of eavestroughs depends on their size, material, and slope. To calculate capacity, consider factors like the catchment area (roof size), rainfall intensity, and gutter dimensions. This calculation ensures efficient water management.

  • What gutter styles are available, and how do they differ technically? 

Eavestroughs come in various styles, including K-style and half-round. K-style gutters have flat bottoms and decorative fronts, while half-round gutters have a semicircular shape. Each style has unique technical considerations in terms of installation and water flow.

  • What is the process for eavestrough installation? 

Eavestrough installation involves several technical steps, including measuring and cutting gutters, attaching hangers, securing downspouts, and ensuring proper sloping for water drainage. It requires precise calculations and the use of specialized tools.

  • What are the technical specifications for eavestroughs, such as dimensions and gauges? 

Eavestroughs come in various dimensions, but standard sizes are typically 5 or 6 inches in width and 3 or 4 inches in depth. Gauges can range from 0.019 to 0.032 inches, with heavier gauges being more durable.

Conclusion

Replacing your eavestroughs is a significant home improvement task that protects your home from water damage. The price varies based on your home’s size, the type of gutter material you pick, and how complex the job is. To save money, choose affordable materials, consider doing some work yourself, and plan the replacement during less busy times.

Contact Active Exterior for Expert Assistance 

For any assistance or inquiries regarding eavestrough replacement, don’t hesitate to contact Active Exterior. Our team of experts is ready to provide you with the guidance and services you need to ensure your home’s eavestroughs are in top-notch condition. Your satisfaction and the protection of your home are our priorities. Contact us today for a consultation.

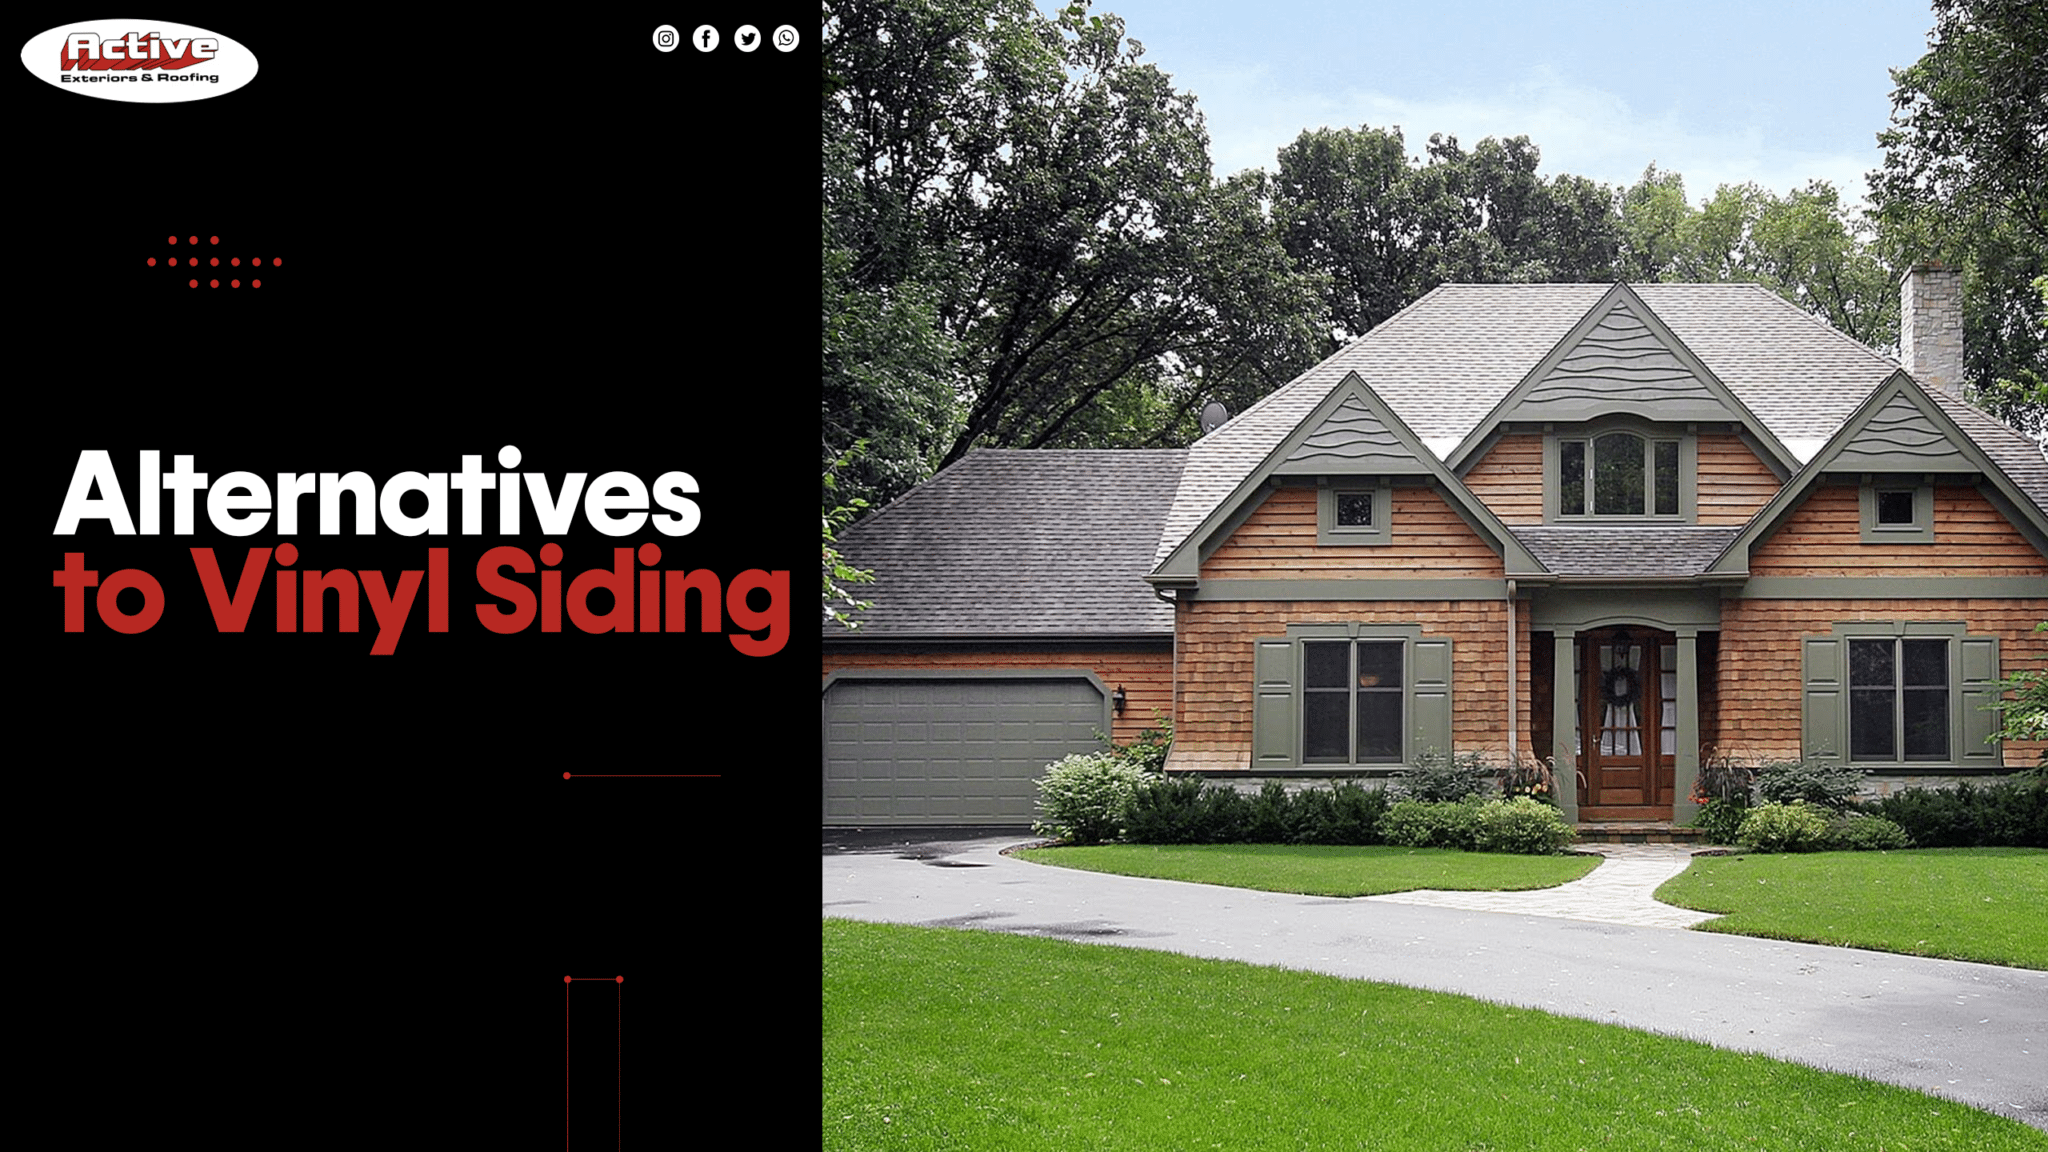
Vinyl siding is a popular siding used in the United States. People love it because it’s cheap, durable, and comes in different colors and styles to fit your home’s aesthetic. But guess what? There are some other Alternatives to Vinyl Siding out there that could be even better for your home. No doubt, these options are a bit expensive, but they’re worth it because they last a long time and make your home look awesome. So, let’s check out six other siding materials you can use for your house.

5 important Factors to Consider When Choosing Home Siding

Finding the Right Siding for Your Home: Before you start shopping for siding, consider your specific needs. Here are six main things to think about, as suggested by the DIY Network:

  1. Water Resistance:

    If you want your siding to last longer, choose one that is resistant to water.

  2. Installation:

    Planning to do it yourself? Make sure you know how to install, have the proper tools, and proper safety precautions to avoid harmful dust during installation.

  3. Energy Efficiency:

    Think about the insulation you’ll need beneath the siding and check the siding’s energy-saving rating (R-value).

  4. Aesthetics:

    Select siding that is appealing and you’ll love to look at every day as you come and go from your home.

  5. Durability:

    Does the siding withstand temperature changes in your climate? How does it hold up against everyday wear and tear? Is it resistant to wind and termite damage?

6 Vinyl Siding Alternatives to Consider

1. Wood Siding:

Wood siding is a perfect fit for your house. It can cost you around $2.25 to $15 for every square foot when you include the installation, and the better quality wood will cost you more. If proper maintenance is done, wood siding can last between 20 to 40 years. You’ll need to give it a fresh coat of seal or paint every few years, fix any holes or cracks that show up, and replace damaged parts before they affect the rest. Also, wood siding can rot and get chewed up by bugs, and it’s not fireproof. So, if you live in an area where wildfires can happen, wood siding might not be the best choice for you.

2. Fiber Cement:

Fiber cement siding is a mixture of cement, sand, wood bits, and sometimes fiberglass. These are mostly made from recycled stuff, which is good for the environment. Appearance-wise, it looks like wood but costs less, around $4.50 to $11.25 for every square foot, including installation.

The best thing about this is it doesn’t have the problems wood siding does. It doesn’t rot, does no attack bugs, and it can handle the sun and fire without getting damaged. You also don’t have to paint or fix it as often, which saves you money. 

3. Brick siding:

Brick siding gives your home the perfect look, as well as it is durable. People like it because it’s strong and doesn’t catch fire easily. It also doesn’t get ruined by bugs or rot, and you don’t have to do much to keep it looking good; there is also no need to paint it. But one thing to keep in mind is that it is a bit expensive if you are going to purchase it for the first time, like $11 to $27 for every square foot, including installation. But once the installation is done, you probably won’t have to spend more money on it. If you like the look of brick but don’t want to pay a lot, you can go for something called “brick veneer.” It’s made from thin bricks or other materials, and it costs way less than real brick.

4. Stone siding:

Stone siding can make your home look appealing and is long-lasting if the installation is done in a proper way. It gives your house a natural look and can handle different weather conditions without getting ruined. One of the best things about it is that it’s environmentally friendly because there’s a lot of stone on Earth, so it’s easy to get without causing harm, unlike plastic or cement.

This type of siding is more expensive than others, as it will cost you around $21.50 to $38.75 per square foot, including installation. You’ll also need a professional for installation purposes because there are some rules to install stone siding. This type of siding is not too heavy. If you don’t get professional help, you might break those rules if your stone isn’t the right thickness. If you want something that looks like stone but don’t want to spend that much money, you can choose something called “stone veneer.” Its weight is less, so you don’t need a professional’s help; you can do it yourself. The good news for you is that it is cheaper than other types of siding. But it might not look as natural as real stone as it is made in factories.

5. Stucco Siding:

If you live in dry places like in the Southwest, stucco is the best fit! It lasts long and is made from materials like sand, cement, and lime. But if you live in places where the area is wet, stucco isn’t the best option. One good thing about stucco is that it’s super good at keeping your home cozy in warm places. It doesn’t get damaged by bugs or rot, and it’s not too expensive, costing around $5.50 to $7.50 per square foot, including installation. Because it lasts so long, stucco doesn’t need much maintenance. If it gets a small crack, you can easily fix it using some caulk. But if the crack is big, water might sneak in and make things worse. The best thing is that you can deal with these cracks easily.

6. Metal siding:

You can choose metal siding as it looks modern as well as maintains the ambiance of your home. It doesn’t get ruined by rot because it doesn’t soak up water, and bugs can’t chew it. Metal siding, especially steel, is reliable and can handle extreme weather conditions, even wildfires. Plus the point is that it reflects the sun, it’s good for saving energy. The important thing to keep in mind before making a decision is that metal siding can get dented easily, like from hail, tree branches, or even a soccer ball. When that happens, you can’t just fix the dent—you have to replace the whole piece, which can be a bit difficult. While aluminum siding is a budget-friendly choice, costing between $3.00 to $7.25 per square foot, including installation, high-quality metal like steel can be too expensive.

Frequently Asked Questions (FAQs)


Are there any specific maintenance requirements for each siding material? Maintenance varies by material. Wood siding may need regular painting or sealing, while fiber cement and metal siding require less maintenance. It’s important to follow manufacturer guidelines to ensure your siding’s longevity.

Are there any eco-friendly options among alternative siding materials? 

Yes, fiber cement, stone veneer, and some metal sidings can be more eco-friendly because they use sustainable materials or can be recycled. Be sure to check for environmentally friendly certifications when selecting siding.

What are the energy-efficient properties of metal siding? 

Metal siding, particularly when properly insulated, can reflect sunlight and help regulate indoor temperatures, making it an energy-efficient choice. It can contribute to lower heating and cooling costs in your home.

Conclusion:

In the world of home exteriors, choosing the right siding material is the most important decision. While vinyl siding has been a popular choice for its affordability and variety, it’s important to explore alternatives that can better suit your specific needs and preferences. Our journey through these siding options, from fiber cement to brick, stone, stucco, and metal, has revealed a wide range of possibilities that can enhance your home’s durability, aesthetics, and energy efficiency.

At Active Exterior, we understand the importance of making the right decisions when it comes to your home’s exterior. Our team is here to help you explore these alternative siding options, guiding you through the selection process and ensuring a professional installation that adds value and beauty to your home.

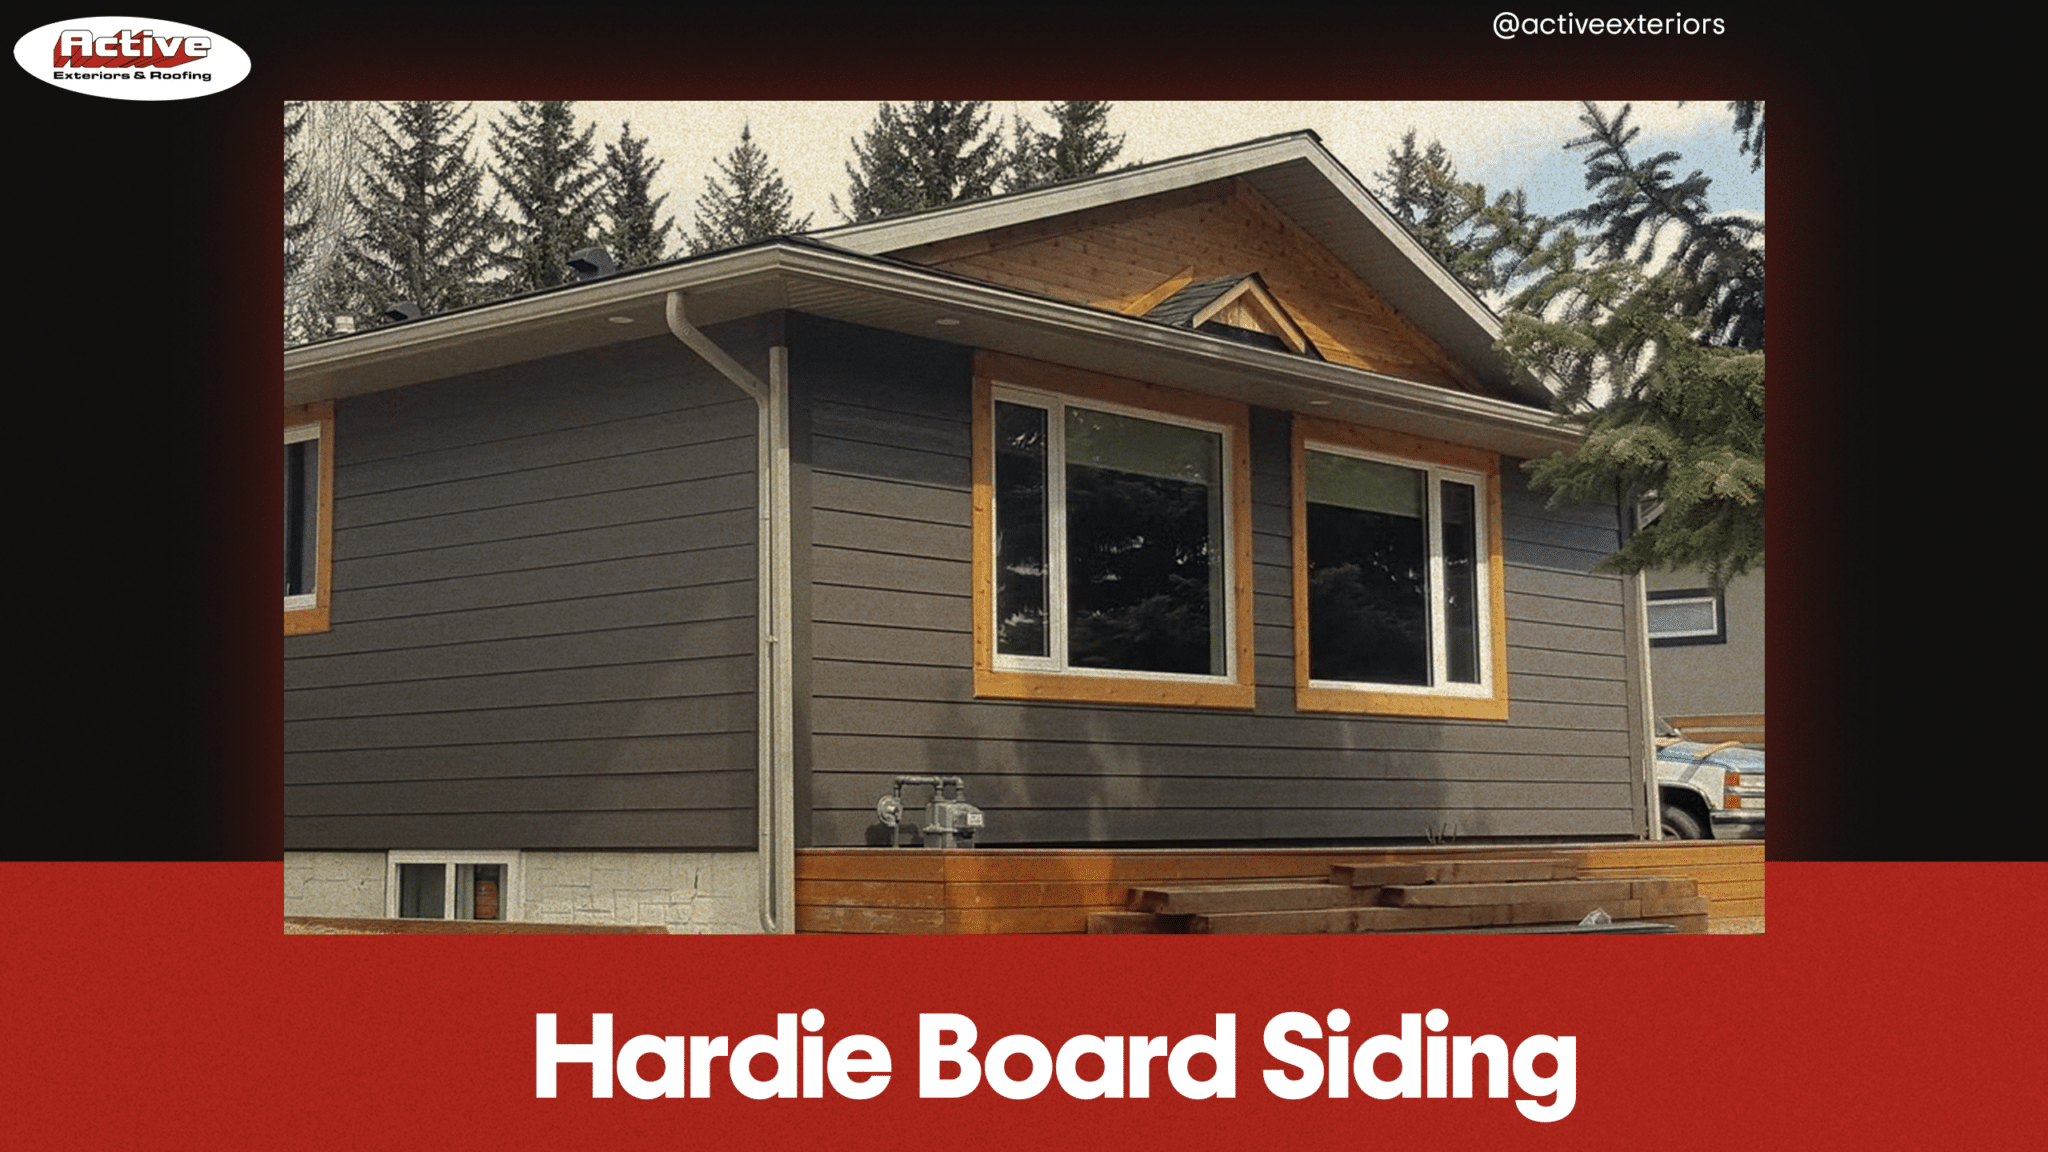
Want to boost your home’s appearance and make it more durable? Hardie Board Siding is the ideal choice for you. It’s tough, stylish, and built to last. This outstanding siding material offers strength, aesthetics, and longevity without the hassle of constant maintenance. In this article, we’ll delve into the world of Hardie Siding, exploring its benefits, features, and why it’s a top pick among homeowners.

What is Hardie Board Siding?

Hardie board siding is a strong and good-looking siding option for your home. It’s made by mixing cement, cellulose fibers (which come from plants), and water. These ingredients are blended together and then shaped into different-sized panels. 

You can choose from a variety of colors and styles to give your home the exact look you want. Whether you prefer a classic or a more modern appearance, this siding can be customized to match your design preferences. 

Its durability and flexibility make it a popular choice for homeowners looking to improve both the appearance and strength of their homes.

7 Best Benefits of Hardie Board Siding

Hardie board siding offers multiple outstanding benefits that contribute to its popularity as a siding material known for strength, durability, and aesthetic flexibility.

  1. Hardie board siding is engineered to resist moisture, preventing issues like warping, swelling, or mold growth, which can be common in some other siding materials.
  2. It maintains its shape and integrity over time, reducing the likelihood of cracking or shifting due to temperature fluctuations.
  3. Hardie board siding holds paint exceptionally well, ensuring vibrant and long-lasting colors without frequent repainting.
  4. Made from sustainable and renewable materials, it’s an eco-friendly choice that doesn’t harm the environment during production or disposal.

Additional Benefits of Hardie Board Siding:

  1. The siding resists fading and damage from UV rays, preserving its color and appearance over the years.
  2. Hardie board siding can be customized to fit the architectural style of your home, providing versatility in design and curb appeal.
  3. Its durability, low maintenance, and aesthetic appeal can enhance the resale value of your home, making it a smart investment.

Installation Process for Hardie Board Siding

The installation process for Hardie board siding involves various things like surface preparation, precise techniques, and a choice between professional assistance and DIY installation. 

Proper installation is key to maximizing the benefits of this durable and attractive siding option for your home. By the following ways, you can install hardie board siding without any problem.

Preparing the Surface to Avoid Disturbance

Before you start installing Hardie board siding, it’s crucial to prepare the surface properly. 

  • Clean the Surface: Remove any dirt, dust, or debris from the area where you plan to install the siding. A clean surface ensures a secure attachment.
  • Inspect and Repair: Check the existing surface for any damage or rot. Replace or repair any compromised areas to create a solid foundation.
  • Apply a Weather Barrier: Install a weather-resistant barrier, like a house wrap or felt paper, to protect against moisture infiltration.

Easy and Best Installation Techniques for Hardie Board

Once the surface is ready, you can proceed with the installation of Hardie board siding:

  • Cutting the Siding: Measure and cut the siding panels to the appropriate size using specialized tools like snips or a circular saw with a Hardie blade.
  • Fastening the Siding: Secure the panels in place using corrosion-resistant nails or screws. Follow manufacturer guidelines for spacing and positioning.
  • Overlap Joints: Overlap the siding panels at the seams, following the recommended overlap distance. This helps prevent water infiltration and ensures a tight fit.
  • Flashing and Trim: Install flashing around windows, doors, and corners to create a watertight seal. Add trim to give your siding a finished look and protect the edges.
  • Paint or Seal: Apply a high-quality exterior paint or sealant to the board siding to protect it from the elements and enhance its appearance. Follow the manufacturer’s recommendations for paint types and applications.

Hiring Professionals vs. DIY 

Deciding whether to hire professionals or tackle the installation yourself is an important consideration. Make sure to get help from professionals if you feel stuck in any step of installation:

  • Professional Installation: Hiring experienced siding contractors like Active Exterior ensures a precise and efficient installation. We have the expertise to handle complex details and provide warranties for Hardie siding.
  • DIY Installation: If you have advanced DIY skills and access to the right tools, you can install Hardie board siding yourself. However, keep in mind that improper installation can lead to issues down the line, so careful planning and following guidelines are essential.

Frequently Asked Questions (FAQs)

  • Should I Hire Professionals or Opt for DIY Installation? 

The choice between hiring professionals and a DIY installation depends on your skills and comfort level. Professionals provide precision and efficiency, often with warranties. DIY is an option if you have advanced skills and access to the right tools. However, ensure careful planning and adherence to guidelines to avoid future issues.

  • How do I prevent moisture-related issues with Hardie board siding? 

To avoid moisture problems, ensure proper installation with a weather-resistant barrier, and maintain good ventilation in your home’s structure. Regularly inspect and repair any damaged sections to prevent moisture infiltration.

  • How often should I repaint or reseal the Siding? 

Hardie siding holds paint well, typically requiring repainting every 10-15 years. Resealing may be needed every 5-10 years, depending on your climate and exposure to the elements.

  • What’s the best way to clean this siding? 

Cleaning is simple – use a soft-bristle brush or a low-pressure power washer with mild detergent and water. Avoid high-pressure washing to prevent damage to the surface.

Conclusion

Hardie board siding stands as a reliable, low-maintenance, and adaptable choice for homeowners aiming to enhance your home’s curb appeal and durability. Its resistance to moisture, enduring paint, and eco-friendly qualities make it a wise investment for your home. 

Whether you choose professionals or DIY siding adds strength and style to your home. For expert guidance and installation services, contact Active Exterior today. Your home’s renovation is just a call away.